Pages

Tuesday 14 July 2015

Kids Party on a Budget

So July is a birthday month for 2 of my girls (5 days apart) and this year, after getting away with limited parties for nearly 9 years, I decided it was time to do one at home for a group of friends.  My daughter was turning 8 so it was all things Frozen.  I wanted to decorate without breaking the bank and have things for the kids to do rather than just playing for 2 hours.  So here's a few of my things which were easy do and thanks to Dealz cost very little.

Craft table - get some blanks (in this case card fairies, socks, crowns) and some bling (feather boa cut in pieces, pipe cleaners, pom poms, stickers, wiggly eyes) and just let the kids loose with their imaginations.

Kids love this sort of thing and it doesn't need to be complicated, come with instructions or expensive.

I had planned on making Olaf with the socks but the kids just did their own things.

Decorating doesn't need to break the bank either.  I had lots of banners up.  Then made tissue paper globe thingys.  I also strung cotton wool balls on clear string for 'snow' and painted some branches with silver glitter paint for the forest going up North mountain.

I think they all liked it.  The only problem I faced was each ball had to be hot glued onto the string cause they kept slipping down.

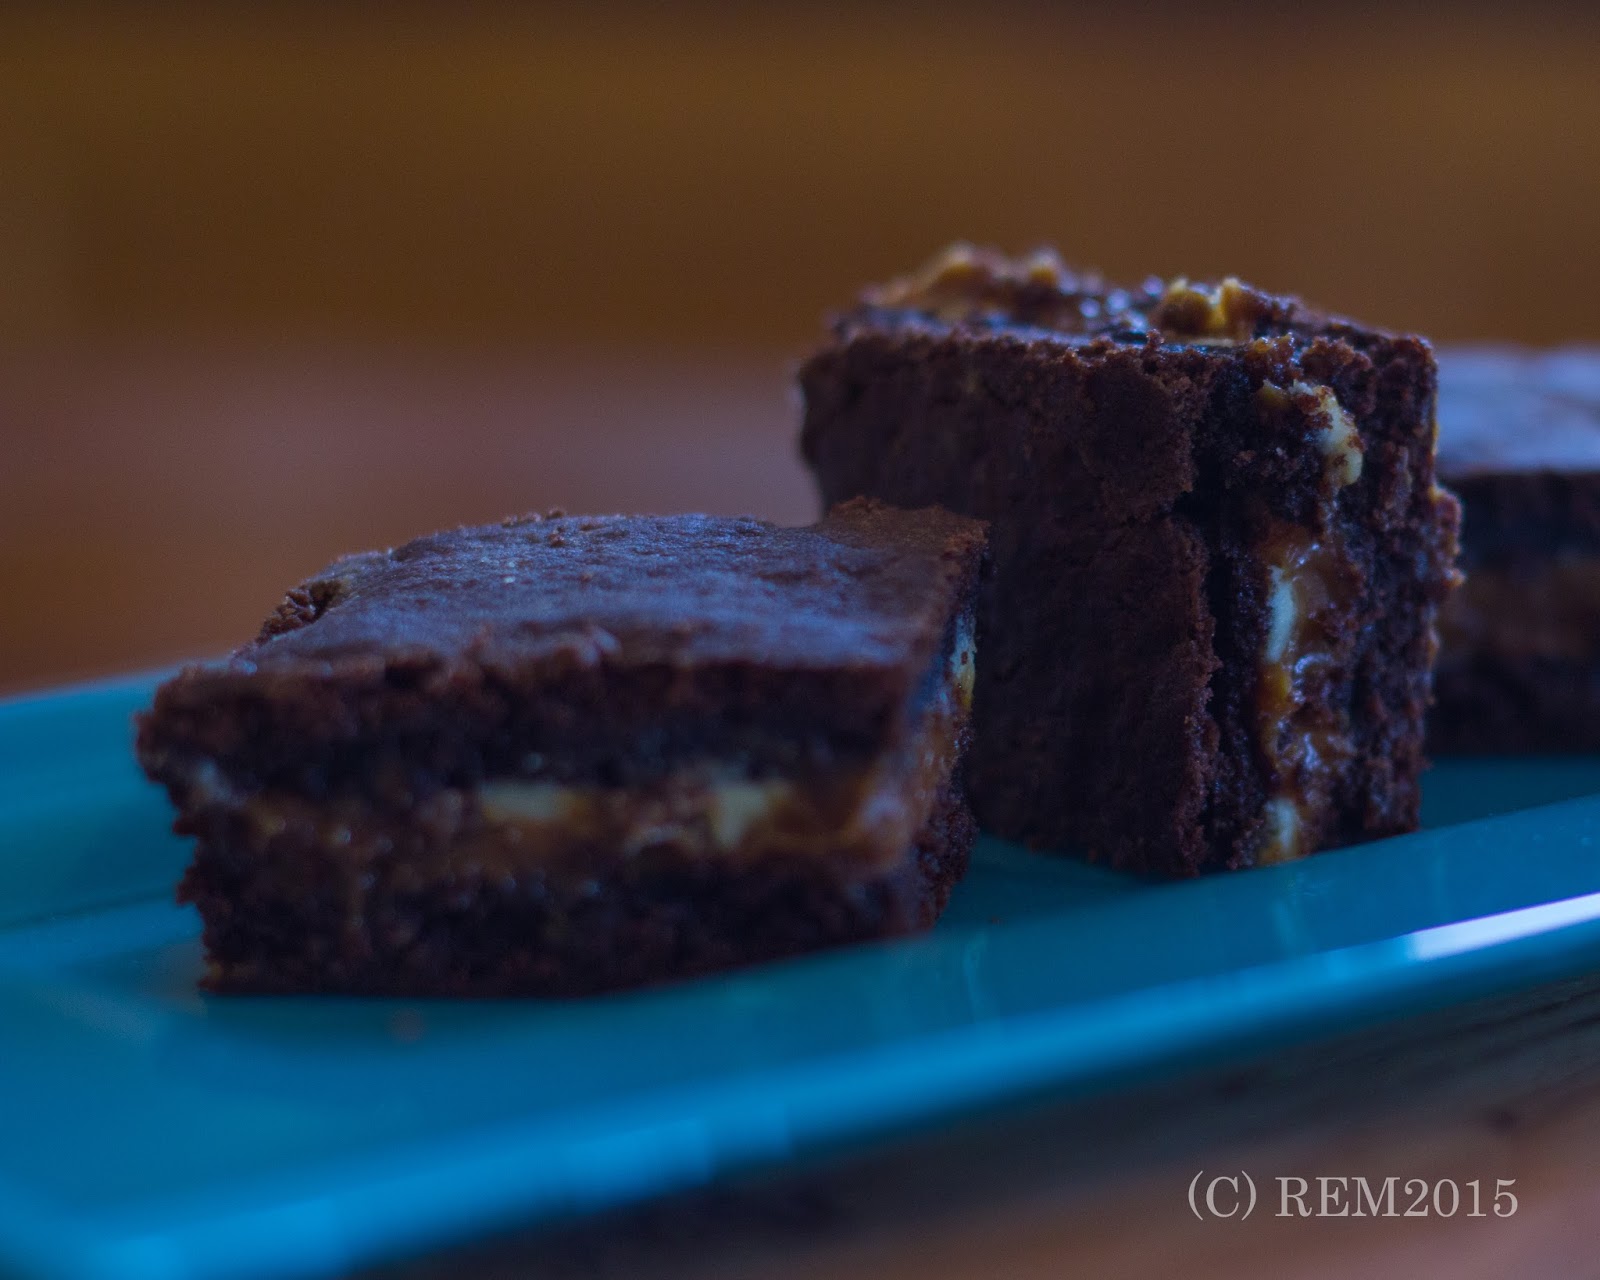
And of course the most important part of any party is the food.  The proper food went down a storm - sausage rolls, chicken nuggets and cocktail sausages.  I also had crisps, sweets and buns.

These ones are my high heels.  So easy to do and again don't have to break the bank.  Simple cupcake with buttercream icing.  The 'sole' is a lotus biscuit (like the ones you get with your coffee in the shops) which  you can get in Dealz.  The 'heel' is a wafer biscuit which though I had seen loads of times before found difficult to get this time but you can get them, otherwise try using chocolate fingers.  They are simply stuck on with some buttercream.  Then decorate the top as you like.

 Now the cake is a different story.  I don't normally make these kind I usually just make it simple but I said I'd do something special this year.  It's basically a 3 tier chocolate rice krispie cake.  The topper is printed wafer paper from Sweet Creations which I stuck on with chocolate and because it was wafer paper it stood up perfectly.  The blue 'snow' is just roll out icing available from Sweet Creations, as are the white snowflakes.

I also had chocolate snowflakes which were tasty but too big, I sprinkled them with blue sugar.  The 'trees' I had fun with though.  They are ice cream cones piped with green buttercream.  Then I just kept them in the fridge until last thing so they wouldn't slide :)  I just thought they were super cool.

Needless to say this went down a treat and my daughter loved it ... she's already planning next years one.

Now I've to go and do another cake for my youngest :) I'll post you a pic when I have it finished.  I hope you like this, if you have any questions or comments please do ask and share xx

Friday 3 July 2015

Surviving the Summer Holidays!!!!!

I have 3 kids (2 school going) so it's a busy house when school holidays come around.  It's also expensive, if I go out for the day anywhere costs are quadrupled and that's when the hubbie doesn't come.  So I'm going to give you my top ideas / places / tips for keeping costs at bay.

1. Don't go anywhere!!!  'Yeah right like that's going to happen' I hear you say.  But by setting up a few activities outside where they can get messy kids can be happy to stay at home the odd day.

Painting is perfect for this mostly because it's outside so it's not getting all over your furniture, etc and because it's something they are can do as a group rather than just 2 of them or on their own.

Dealz have a good range of craft bits if your kids like doing that.  You can buy a mixed bag of paper, flowers, ribbon, etc for €1.49 and a bottle of glue for €1.49 and let them use their imaginations or with a little guidance you can get all your Christmas cards made :)

2.  Check out Pinterest for things to do and make  I know it sounds obvious but not everyone is a Pinner and it really is a fab place to start when you need ideas.  Here's my page to get you started.  I have a folder for Kids Crafts which is my goto when I need something.

Today I made moonsand from just flour and baby oil.  Great stuff because it doesn't dry up and if they inevitably do put some in their mouth it's not the end of the world (not that I condoning eating it but let's be realistic here - it happens).

3.  Look locally and nationally for free places to do day visits.  We are lucky in this country that we are never far from somewhere to go for a good walk that everyone can enjoy be it up mountains, in the nearest OPW gardens, woodlands or boglands.

Heritage Ireland is a good starting spot where you can look at county by county and see what's out there.  Also worth noting is the some OPW places are open free on the first Wednesday of the month too.

These are also great places to do Scavenger Hunts - give the kids a list (or pictures if they can't read yet) of things to find as you walk around.  They can take photos of them, do drawings or bring them home.

4.  Annual Membership  Probably one or two of the most visited places in Ireland when you have kids is the Zoo and Fota Wildlife Park.  For us (2 adults & 3 children) to visit either would cost the best part of €50 before we've seen anything, eaten anything or dare I say it visited the gift shop!!!

For €170 per year you can go as many times as you want to either or both of them as well as Belfast Zoo and some UK places.  Last year I purchased the membership and we went lots (sometimes it felt like every week) so we definitely got our money's worth.  And most importantly the kids love it.

5.  Eating  I know we have to feed them too!!!!  Best option is picnic style and what kid doesn't love eating out on the grass or at a bench?  So many stores now do sort of snack packs of stuff (salad, pasta, etc), bread rolls and multi pack of crisps and drinks.  For less than €10 you can feed a family of 4 - cheaper than McD's!!!!

I hope this has given you a few ideas.  Let me know how you get on and if you have any more suggestions xx

Tuesday 9 June 2015

When Bad Things Happen

'When Bad Things Happen, How Do We React'

As human beings our natural reaction when something bad happens to us is to question why?  Why us?  We've done nothing wrong.  We're good people.  We never hurt anyone or stole anything.  But as God's people we shouldn't be asking why we should be looking at how we react when these things happen to us.  I have a 2 year old at home and she has recently started asking why. But did you ever notice when a child asks why and you answer they ask why again? That's how it is. Even if we get an answer to our first why it only unearths another.

Now I'm fairly sure everyone here won't have to think to hard or long to think of something bad that has happened to them directly or a close loved one.  Now think for a moment of how you reacted to that, as an immediate reaction.  The question is not why but how we are Christians who believe that God is loving, God is just, God is good, God is merciful - how we show the world how to deal with pain, with loss, with hurt.

In our Psalm (Psalm 37) reading you'll notice 3 words that are repeated ... 'Do not fret'.  I know it's human nature to worry but where does it get us?  Nowhere.  Worrying does nothing.  It doesn't change what happened.  It doesn't help in what's to come.  It makes our present miserable.  I know personally it's easier said than done not to worry but when the head rules and we can pull ourselves out of worrying life is better or at least easier to deal with.

So how do we react?  How should we react?  Acceptance is the best place to start.  Accept that what has happened is God's will and plan. I know believe me that this definitely is easier said than done.  On December 23rd last year Colin got up to go to work, his last day before Christmas.  He was to bring his brothers presents with him.  Knowing him I thought 'he's gone without them'. At 6 a.m. I got up and sure enough there were the presents on the table. Called him 'you better come back'. When he walked in the door a few minutes later I said 'you've to bring me to the hospital'. At 12.05 I gave birth to our 20 week angel.  Our baby had died.  Why? God knows and only God.  Is there anything I can do now to change what happened?  No.
Now when my head rules I can be pragmatic.  I can accept that I had no control over what happened. I can accept that it was God's plan. I can think about what he was saved from having not lived.  But when my heart rules I think like any human, like any mother ... what did I do wrong? What could I have done to prevent it? Why would God do this to me?  Now I know we're all human and acceptance doesn't come easy a lot of the time and certainly there are times when we can accept what happened and times when we will still question why but that's when we need God to carry us through.

So after acceptance what then?  For me after acceptance is how can I use what happened to me to help others.  I'm not saying all this to look good or make myself sound like the perfect person, I'm saying it in the hope that it will help at least one person.  If it does then that's one more person that can maybe see some light at the end of the tunnel.

How can we use our experiences to help others?  Look on the bright side, and yes there always is a bright side.  So often we hear all the bad stuff that happens we can forget that sometimes things could have been a whole lot worse.  In our case we were lucky that our angel was born quickly with no complications afterwards.  We are lucky to have 3 wonderful, healthy (allbeit crazy) girls already.  Some people aren't so lucky.

One of the best remedies that we can use to show those around us that life isn't all bad, that God takes care of us no matter what, that we can get through things ... is free.  It's a smile.  A smile works in all sorts of scientific ways to help a person, releasing happy hormones and the like.  But a smile works a much more simple way too, it gives others hope.  Hope that some day they too can have a peace where they can smile and remember the good rather than cry over the bad that cannot be changed.  I heard of a man one time who smiled at everyone he met.  His girlfriend thought it a bit strange and asked him why he did it.  'Because,' he said, 'one day I met a man who told me that while he was on his way to jump off a bridge because everything had gone wrong he looked up and a stranger smiled at him.  That made him feel some bit of kindness and hope.  He didn't jump off the bridge.  So if my smiling at strangers can help someone like that it costs me nothing and I'm happy to do it.'

Anyone ever thought of that?  Of the effect your simple smile can have on those who see it.  In February I was on my way to the hospital to get the post-mortem results of our angel.  I wasn't in a particularly good mood as you may understand.  Thinking I'd treat myself to a nice coffee first I went into McDonalds.  When my coffee was ready a very nice lady handed it to me, looked me in the eye and said 'you take care now and we'll see you again soon.'  I could have hugged her.  But I thought was she had no idea what I was going through and just those few little words lifted my spirits.  If I had been like that man going to jump I'm fairly certain those words would have saved my life, just because I wanted a coffee.

So because we are God's people and know He loves us, cares for us and will not bring us through trials alone we can accept what happens, think about how we can use our experiences to help others and SMILE.


********************

I've been a Local Preacher (Lay Reader) in the Methodist Church in Ireland for the last 15 years or so.  This basically means I lead worship every now and then, about once a month, though I can't perform marriage or baptismal services or officate over Holy Communion.  Anyhow, this year I've lead a few services and one of the great things about being an LP is that you can recycle your services because you generally aren't in the same church.  This was a recent sermon and I hope it may help and guide you or your loved ones.

Your comments are as always welcome xx

Friday 29 May 2015

The Stories Behind Some of my Favourite Photographs

 One of my passions is photography.  I took it up in earnest over a year ago and have since loved capturing some magical moments with my children.  It's great that I can combine it with lots of my other favourite things too, such as food :)

 This was one of my first 'staged' food photos.  I made them purely because of the name ... Knock You Naked Brownies ... and if you make these for your loved one that's what will happen.  These truly are the most amazing brownies I've ever had and incredibly easy (I'll post the recipe soon I promise).
 When my kids are off school I try and get out somewhere.  This pic was taken in the Collins Barracks Museum in Dublin (the one near Heuston).  Now the more professional photographers among you will point out the many, many things wrong with this pic and it's not one that would print well but I love.  I just love the lighting in it.  And I may add the museum is a fab spot to spend a day.
 Many of you will have seen this pic before as it's probably one of the most photographed rooms in Dublin.  It's the Long Room in Trinity College.  It's housed in the same building as the Book of Kells.  Absolutely gorgeous and the smell of old books and peace and quiet means you could stay all day and just chill.
 My mum and dad recently moved into a new house next door to me.  They have the most fabulous garden, especially at this time of year when the flowers are all coming out.  I'm not sure what this one is and neither are they so they asked me to photograph it so they could ask in garden club.  It was a beautiful morning with a light frost from the night before.
 I love this one if for no other reason than I got to eat cake afterwards :)  My poor countertop hasn't been as shiny since.  I wanted to try and capture what tea should be like ... china teacups and cake on a stand.  I like the reflection too it just seems to work well.
 Found these little guys on a shrub which was being thrown out and ended up in my garden.  We were checking if it was actually alive.  I love the way the red and brown just work.
 This was a sad, sad day.  I had bought my tickets and I was ready to go but then the Garth Brooks concert last year got cancelled :( I was not a happy bunny.  So I donned my skinny jeans, cowboy hat and guitar and took this one.  This was my first selfie with an actual camera not a phone and I really like it.  All it's missing is the pint of Guinness ready to be sipped between sets :)
 Every year we head off nice and early to Tullamore Show (for those outside Ireland, or city folk, it's the largest county agricultural show in Ireland).  Last year I had my camera in hand and snapped the day away.  Just wandering around I came across this beauty and it's my favourite shot of the day (out of about 500 pics!!!!)
So that's it folks.  Just a small selection but I hoped you've enjoyed them.  I'll leave you with a panoramic view of Laois / Offaly.  On a beautiful day you can truly see for miles and I think it shows off our little country quite nicely.  See you soon xx


Monday 25 May 2015

Sweet chilli salmon

Todays' recipe is so simple and quick you won't believe and extremely tasty.  I'm a big lover of Salmon cooked in lots of different ways and even just on its' own with a little bit of butter but this has to be one of my favourite ways to have it.

Now this won't appear in any Slimming World books but it is totally free so you can eat all you like of it.  And you can adjust the heat to suit you too.

I like to dice up the Salmon and fry it first (in 1cal spray) so it's gets a little crispy.  Use 1 fillet per serving though feel free to add more if you like.  While it's cooking get on the water for your noodles and chop whatever stirfry veg  you like.  I've just used mangetout here.

For the chilli sauce mix together 1tsp lemon juice, 1tbsp white balsamic vinegar (available in tesco), 3tbsp sweetener, 1tsp chilli flakes, 1tsp tomato paste.  This doesn't make a lot so use this quantity per fillet of salmon.

When the salmon is cooked add the sauce and stir.  Turn off the heat.  Load the lot onto a plate and dig in.  This is so quick and tasty I apologise for no fancy pic but you're lucky to get one at all.


I hope you enjoyed this, let me know your opinion please. xx

Saturday 16 May 2015

Sweet & Sour Turkey - Slimming World Style

Last May I joined Slimming World, for anyone outside the UK / Ireland this is like a Weight Watchers type thing where you follow food guidelines to lose weight and there is a weekly weigh in and group meeting.  They don't call it a diet, it's a way of life because it's aim is not only to get you to lose weight but to eat healthier in general.  This is one of their recipes.  Now when I'm cooking main meals (anything except baking) I use the recipe more as a guideline rather than something to be strictly adhered to - this method hasn't failed me yet.  

When I made this it wasn't hugely saucy so if you like a lot of sauce just up the second addition of ingredients by half.  Also I've used turkey here but it obviously goes well with chicken or pork too.  We just eat a lot of chicken so I wanted to change it a bit.

NOTE: if you are watching what you eat and try turkey remember that pre-packed turkey mince is not low in fat.  I think I read it's about 15% fat!!!!  So buy the sliced breast or breast piece or diced turkey and chop it up finely yourself if you need mince.

First of all dice up approx 500g Turkey.  Add to a bowl with a sliced onion and 2 gloves of garlic.  Stir in 3 tbsp soy sauce and leave to sit for about 30 minutes (I just left mine to sit while I got everything else ready and put the rice on).

In a separate bowl measure in 100ml passata, 1 tbsp soy sauce, 2 tbsp sweetener, 1 tbsp balsamic vinegar, 1 tsp paprika and 1/2 tsp chinese five spice.

In a wok / frying pan / saucepan heat some 1cal spray oil.  Add the turkey mixture and cook through.  Once cooked add the sauce ingredients and simmer for 2 to 3 minutes.  Serve with rice or noodles (totally syn free for SW people) (totally delish either way).

I hope you enjoy making this and it goes down as well with you as it does in my house.  Though next time I'll think I double the ingredients and go for seconds :) xx


Wednesday 13 May 2015

Photoshoot Day


This story starts last Christmas when I unfortunately gave birth to an angel at 20 weeks.  Sunday (May 10th) he would have been due so I wanted to do something to mark the day.  Rather than drive myself (and my family) mad I wanted to focus on what we have rather than what we lost.  So, using a fair amount of emotional blackmail, I organised a family photo shoot.  

I'm a keen photographer myself and have taken many, many pics of my own kids but never attempted a family pic or one of myself and my husband - think it would have lead to divorce!!!!!!

So I booked a great local photographer Con Murphy and headed for Emo Court one of our local beauty spots, where we also had our wedding photos done over 12 years ago.

Before the day though I did some preparation.
  
1.  I thought about what I actually wanted the pictures for and of.   This meant I could tell Con what I wanted and we were both on the same page.  Basically I wanted a family picture that I could print quite large on canvas or for framing and one of myself and my husband.  I also wanted some pictures in the bluebells.
2.  I picked a colour scheme so the pictures would look well.  These are all over Pinterest (like this one) and the internet so it was a matter of picking something that suited.  Colin usually wore blue so I started there (at least I could tell the girls what to wear :) )  So we went pinks and blues.  I made the fabric flowers from my previous blog to jazz up the girls' dresses 'et voila' we were ready.  Most photographers if asked will tell you not to wear busy patterns or clothes with big writing all across.  Plain and simple is best but try get the colours to work together and of course to suit you.
Now there are lots of things you can't prepare for and my advice is: 

1.  for example, my 2 year old wasn't willing to co-operate for a while and you just have to relax and let them do their own thing.  Con got something beautiful pictures of her anyway

2.  let the photographer run the show.  If you have already told them what you want then they know what to do.  Con may say I tried to run it but I hope I stood back enough :)  But if they are trying to get your child to do one thing and you are distracting the child it will take longer, everyone will get frustrated and no one will be happy.

3.  bring a hairbrush.

4.  depending on the time of day and year maybe bring some midgy spray.  My poor baby was getting eaten by them :(

5.  do what you are supposed to do.  If the photographer wants you to look at him and the kids are running around or looking the other way let him call them not you.  You keep looking where you are meant to so that in that split second when they do look at the camera he can get the shot and isn't then asking you to look at him.  Basically if you are old enough to do what you are told then do it.

This picture to the right is one of my favourites and there was no posing involved.  The girls were just walking along the lake very natural.  We were chilling on the bench and Con was working his magic.
If anyone has any questions to ask please do.  I hope you have enjoyed this blog, see you soon for the next one which promises to be very tasty xx

Tuesday 5 May 2015

Fabric Flower for Headbands, Brooches, Belts, etc

For these guys please be prepared for some pain ... hot glue on fingertips is inevitable.  But they are quite simple and great for jazzing up a plain outfit.  We are getting family photos taken at the weekend and I wanted to try co-ordinate us all so we're going pinks and blues.  These flowers will be added to my girls outfits just to give them a little extra for the day.  Though the blue one might end up on a hairband for my youngest.

For this one I cut off the hem of an old dress (the longer the material you use the bigger the flower) so it was about 15mm wide but you can go wider which will also effect the end size of the flower.  Then fold about an inch at the end and glue it (I've used hot glue for all these).  Then simply keep rolling up the fabric around it but as you go twist it every now and then (I roughly did 2 twists per round of the flower and then alternated the twists on the next round so they weren't always in the same part).  As you go along keep adding a little glue to keep it in place.  Then just glue the end to the flower and glue it onto more fabric at the back like this.

For the next flower it's so much easier and quicker.  Cut a circle of felt as above for the back.  Then of your flower fabric cut 4 circles for each layer.  In this one I've done 4 plain pink and 4 organza (horrid to glue).  I've used lace and a diamonte to finish off this one or you could use a small rose like the blue one above or cut another round of your fabric and fluff it up in the centre.

Now take your first circle of fabric, put a dot of glue in the centre and fold in half.  But another dot of glue in the centre of the straight edge and fold again so you end up with your circle in a quarter.  Do this with all your circles.  Glue your first layer to your felt backing.  Put some glue in the centre and add the second layer.  I alternated the 'petals' but you don't have to.  The I glued on the lace and diamonte to finish.  Then depending on what you want to do with it will decide whether you add a pin or elastic or ribbon to the backing with glue.

If you find you have strings of glue everywhere you can blow the flower with a hairdryer (warm setting) and they'll disappear.  I found I had a lots of glue on the blue flower so I heated it again with the hairdryer and added some glitter ... I mean what girl doesn't love glitter :)

I hope you enjoy making these as much as I did.  Let me know how you get on, see you soon xx


Thursday 30 April 2015

Risotto Stuffed Peppers - quicker than it sounds :)

I watch a lot of the cooking competitions like Masterchef Australia (my favourite) and whenever Risotto comes up it's always 'oh this is so hard' ... waffle ... it's very easy and a dish than can be changed to suit anyone's tastes very easily.

This is my Risotto Stuffed Peppers recipe which you can have as a lunch, snack or with meat for a more substantial dinner.  It looks nice and as we eat with our eyes first that helps :)


Now just to confuse issues there isn't exact quantities here as it all depends on how many you are feeding.  Basically it is 1 pepper per serving and if you cut the top off one and use it as a measure it's 3/4 pepper full of rice per serving.

You will also need Arborio rice, herbs (fresh or dried), garlic, onion, stock pot and parmesan.  After that it depends on what you want to add in veg or meat.  This is fab with chorizo sliced and fried in the pan first with the onion and then add the rice as per the following method.

1.  Heat 1tbsp oil, or I use the 1cal spray oil and it reduces the fat content and works just as well as olive oil or rapeseed oil, in a deep, heavy based pan.

2.  Chop the onion, garlic and herbs and fry for a minute or two in the oil.  (Add the chorizo too if you are using it).

3.  Add the rice and fry for another minute or two.

4.  Pop the stock pot (whichever flavour you like best - I find Chicken gives the nicest flavour).  Add some boiling water, enough to just cover the rice.  This will boil off quite quickly.

5.  Keep topping up with boiling water and stirring until it's cooked, takes about 20 minutes.  Taste test is the best way of knowing it's cooked.

6.  Add whatever veg you want to it - peppers, sweetcorn, green beans, any canned beans, whatever you want just chop it in a small dice.  Season to taste with salt and freshly ground black pepper.

7.  Grate about half a wedge of Parmesan.  Add most of this and stir the Risotto.  (if you are making a big batch you might need all the wedge just reserve enough to sprinkle on top)

8.  Fill each pepper and top with the remaining Parmesan.

9.  Bake in a preheated oven at 180'C for about 15 minutes.

And that's it.  Serve with whatever you wish or just on it's own.

The Risotto itself heats up well the next day too so great for midday snack or lunch.

Let me know how you get on, it's not as hard as some people think it is and can easily be cooking while you are emptying the dishwasher or whatever in the kitchen as long as you keep an eye it doesn't boil dry and keep stirring to get it nice and creamy.


Friday 24 April 2015

Chocolate Sprinkles Cake

So I was asked the other day if I would make a chocolate cake from my friends' daughter whose birthday is this weekend.  Of course, no problem ... a load of ideas started running through my head and I went through Pinterest :) as we all do.  But then I went to my press.  How many of us have bought bottles of sprinkles that look pretty, or the big tubs with 4 sections????  I had lots of bits but not enough of any.  So I bunged them into a bowl, gave them a mix and ta-da the result was colourful, different and looks yummy.


Now the cake itself had to be chocolate - so many possibilities.  So I went through my MANY cookbooks and found this one for a lovely light madeira.  The icing, however, is usually my downfall I just can't seem to get it nice and light and fluffy.  But I found one that was a cross between a ganache and a buttercream.  Very tasty.

For the Cake:
225g / 8oz Margarine ( make sure it's soft.  the tub stuff works best for cakes or zap the block stuff in the microwave for 20 secs - out of the wrapper of course)
225g / 8oz Caster Sugar (definitely works best in baking and is often cheaper than the granulated stuff these days)
4 Eggs, beaten
175g / 6oz Self Raising Flour
55g / 2oz Cocoa Powder
1-2tbsp Milk (if needed)

Preheat your oven to 180oC / 350oF / Gas Mark 4.  Line a 8" round tin and grease the sides.

Cream the sugar and marg until light (almost white in colour).  Add the beaten eggs and cream further.  Sieve the flour and cocoa into the mix and incorporate (the recipe I found said to fold but I just put the mixer on as low as possible).  Add the milk if you feel the mix is a little dry.

Put it into the tin and level the top.  Bake in the oven for 45-50 minutes.  Leave it cool in the tin for 5 minutes before turning out onto a wire rack to cool completely.

For the Icing:
150g / 5 1/2oz Plain Chocolate, finely chopped
200ml / 7floz Double Cream
140g / 5oz Butter, soft again (butter is always better in icing than marg)
280g / 10oz Icing Sugar

Heat the cream to just boiling, but don't boil.  Add it to the chocolate in a heatproof bowl and stir until the chocolate is melted.  Leave to cool for about 20 minutes until it's thickened a bit.

Cream the butter and icing sugar until creamy.  

Beat in the chocolate mix.  Chill in the fridge for 15-20 minutes until it's set enough to hold but not so hard that you can't spread it.

Assembling:
Slice the cake in half.  I used a gadget for this but a knife is fine it doesn't have to be perfect ... if your guests complain cause it's not even don't give them any :)

Get a paper plate (8" again) so it hides under the cake.  Smudge some icing on the plate and put on the first layer of cake - I used the top of the cake and turn it upside down that way if you have a little  hill on the cake it matches with the shape of the plate.  This icing stops it from moving around.

Spread on some icing, about 2-3tbsp and top with the other layer.

Holding the cake in one hand on the plate spread the icing evenly all over.

As I said earlier I had mixed up my medley of sprinkles in a bowl and holding the cake at a slight angle over the bowl I scooped up the sprinkles and let them stick to the icing with the excess falling back into the bowl.  And continue until you've covered the cake.

And voila!!!!  I'll try get a pic when it's cut tomorrow before it gets demolished :)

I hope you enjoy making this as much as I did.  Let me know how you get on xx