Pages

Friday 29 May 2015

The Stories Behind Some of my Favourite Photographs

 One of my passions is photography.  I took it up in earnest over a year ago and have since loved capturing some magical moments with my children.  It's great that I can combine it with lots of my other favourite things too, such as food :)

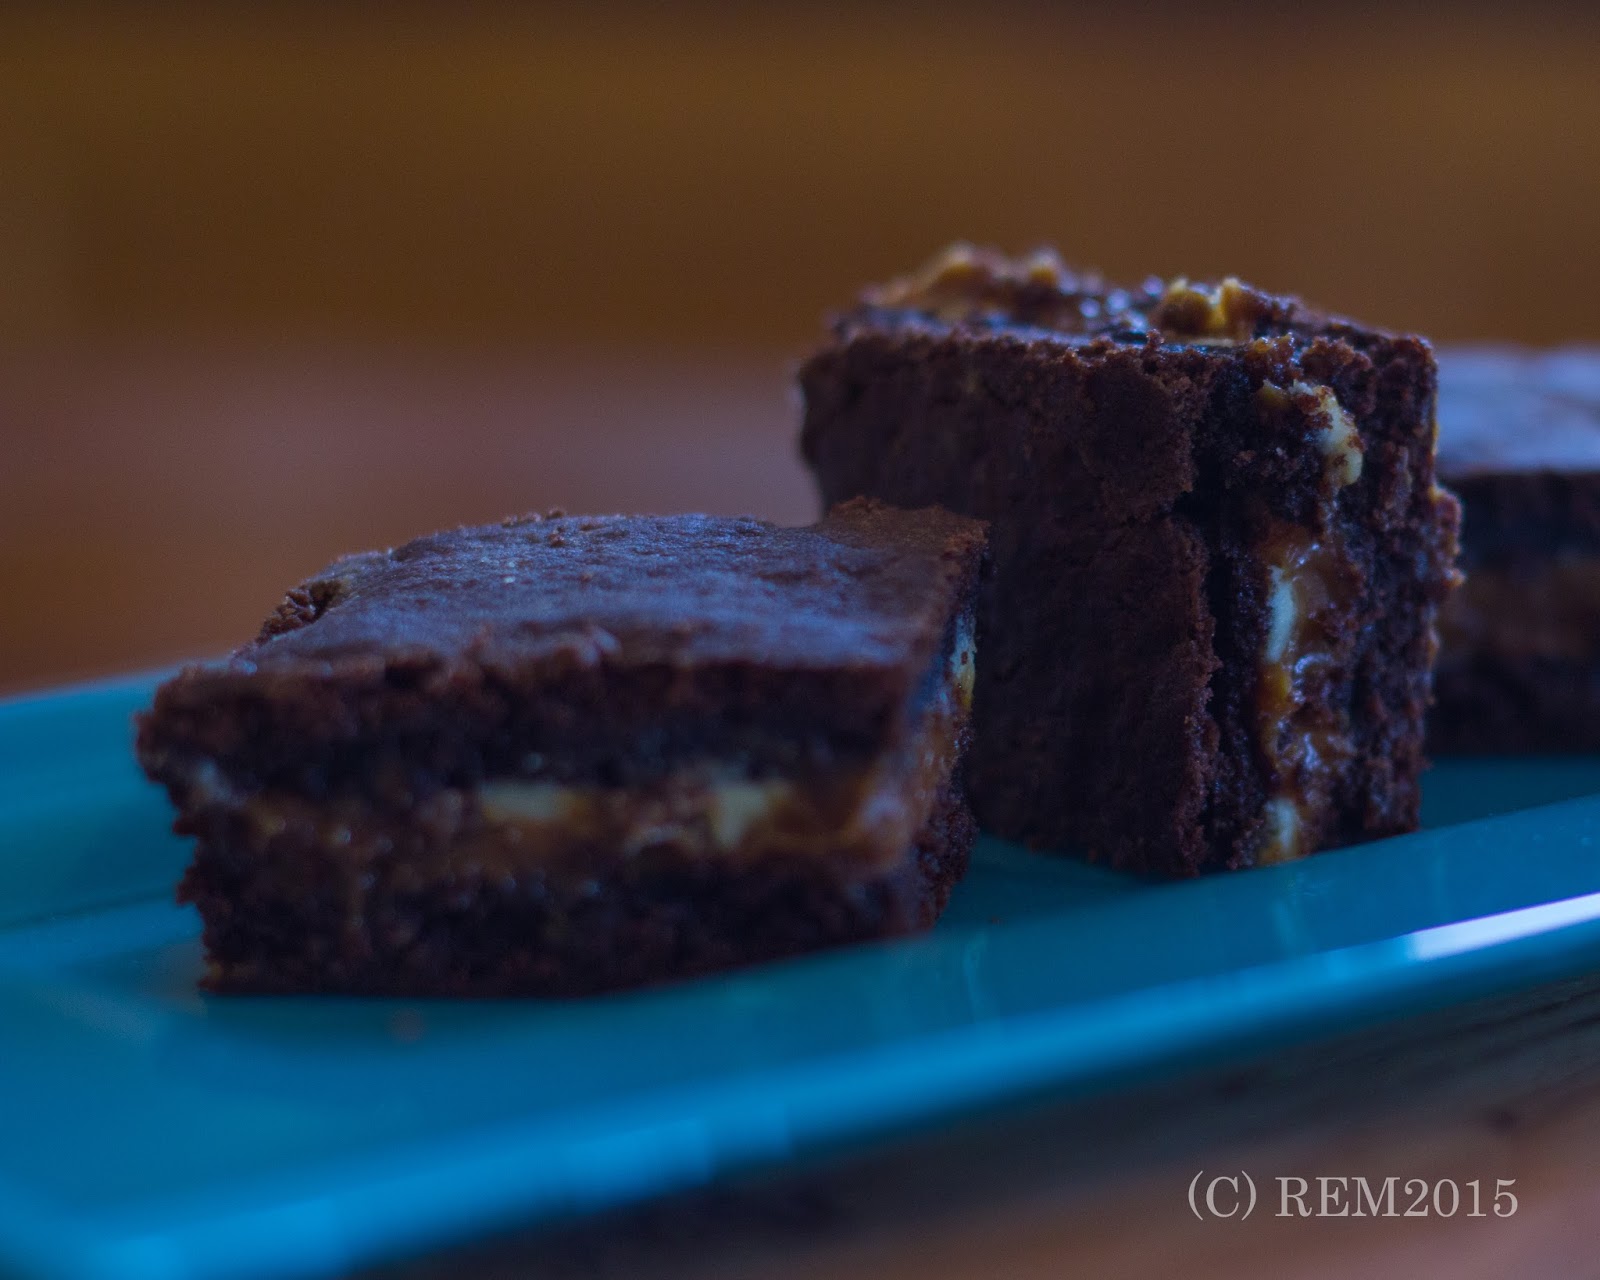
 This was one of my first 'staged' food photos.  I made them purely because of the name ... Knock You Naked Brownies ... and if you make these for your loved one that's what will happen.  These truly are the most amazing brownies I've ever had and incredibly easy (I'll post the recipe soon I promise).
 When my kids are off school I try and get out somewhere.  This pic was taken in the Collins Barracks Museum in Dublin (the one near Heuston).  Now the more professional photographers among you will point out the many, many things wrong with this pic and it's not one that would print well but I love.  I just love the lighting in it.  And I may add the museum is a fab spot to spend a day.
 Many of you will have seen this pic before as it's probably one of the most photographed rooms in Dublin.  It's the Long Room in Trinity College.  It's housed in the same building as the Book of Kells.  Absolutely gorgeous and the smell of old books and peace and quiet means you could stay all day and just chill.
 My mum and dad recently moved into a new house next door to me.  They have the most fabulous garden, especially at this time of year when the flowers are all coming out.  I'm not sure what this one is and neither are they so they asked me to photograph it so they could ask in garden club.  It was a beautiful morning with a light frost from the night before.
 I love this one if for no other reason than I got to eat cake afterwards :)  My poor countertop hasn't been as shiny since.  I wanted to try and capture what tea should be like ... china teacups and cake on a stand.  I like the reflection too it just seems to work well.
 Found these little guys on a shrub which was being thrown out and ended up in my garden.  We were checking if it was actually alive.  I love the way the red and brown just work.
 This was a sad, sad day.  I had bought my tickets and I was ready to go but then the Garth Brooks concert last year got cancelled :( I was not a happy bunny.  So I donned my skinny jeans, cowboy hat and guitar and took this one.  This was my first selfie with an actual camera not a phone and I really like it.  All it's missing is the pint of Guinness ready to be sipped between sets :)
 Every year we head off nice and early to Tullamore Show (for those outside Ireland, or city folk, it's the largest county agricultural show in Ireland).  Last year I had my camera in hand and snapped the day away.  Just wandering around I came across this beauty and it's my favourite shot of the day (out of about 500 pics!!!!)
So that's it folks.  Just a small selection but I hoped you've enjoyed them.  I'll leave you with a panoramic view of Laois / Offaly.  On a beautiful day you can truly see for miles and I think it shows off our little country quite nicely.  See you soon xx


Monday 25 May 2015

Sweet chilli salmon

Todays' recipe is so simple and quick you won't believe and extremely tasty.  I'm a big lover of Salmon cooked in lots of different ways and even just on its' own with a little bit of butter but this has to be one of my favourite ways to have it.

Now this won't appear in any Slimming World books but it is totally free so you can eat all you like of it.  And you can adjust the heat to suit you too.

I like to dice up the Salmon and fry it first (in 1cal spray) so it's gets a little crispy.  Use 1 fillet per serving though feel free to add more if you like.  While it's cooking get on the water for your noodles and chop whatever stirfry veg  you like.  I've just used mangetout here.

For the chilli sauce mix together 1tsp lemon juice, 1tbsp white balsamic vinegar (available in tesco), 3tbsp sweetener, 1tsp chilli flakes, 1tsp tomato paste.  This doesn't make a lot so use this quantity per fillet of salmon.

When the salmon is cooked add the sauce and stir.  Turn off the heat.  Load the lot onto a plate and dig in.  This is so quick and tasty I apologise for no fancy pic but you're lucky to get one at all.


I hope you enjoyed this, let me know your opinion please. xx

Saturday 16 May 2015

Sweet & Sour Turkey - Slimming World Style

Last May I joined Slimming World, for anyone outside the UK / Ireland this is like a Weight Watchers type thing where you follow food guidelines to lose weight and there is a weekly weigh in and group meeting.  They don't call it a diet, it's a way of life because it's aim is not only to get you to lose weight but to eat healthier in general.  This is one of their recipes.  Now when I'm cooking main meals (anything except baking) I use the recipe more as a guideline rather than something to be strictly adhered to - this method hasn't failed me yet.  

When I made this it wasn't hugely saucy so if you like a lot of sauce just up the second addition of ingredients by half.  Also I've used turkey here but it obviously goes well with chicken or pork too.  We just eat a lot of chicken so I wanted to change it a bit.

NOTE: if you are watching what you eat and try turkey remember that pre-packed turkey mince is not low in fat.  I think I read it's about 15% fat!!!!  So buy the sliced breast or breast piece or diced turkey and chop it up finely yourself if you need mince.

First of all dice up approx 500g Turkey.  Add to a bowl with a sliced onion and 2 gloves of garlic.  Stir in 3 tbsp soy sauce and leave to sit for about 30 minutes (I just left mine to sit while I got everything else ready and put the rice on).

In a separate bowl measure in 100ml passata, 1 tbsp soy sauce, 2 tbsp sweetener, 1 tbsp balsamic vinegar, 1 tsp paprika and 1/2 tsp chinese five spice.

In a wok / frying pan / saucepan heat some 1cal spray oil.  Add the turkey mixture and cook through.  Once cooked add the sauce ingredients and simmer for 2 to 3 minutes.  Serve with rice or noodles (totally syn free for SW people) (totally delish either way).

I hope you enjoy making this and it goes down as well with you as it does in my house.  Though next time I'll think I double the ingredients and go for seconds :) xx


Wednesday 13 May 2015

Photoshoot Day


This story starts last Christmas when I unfortunately gave birth to an angel at 20 weeks.  Sunday (May 10th) he would have been due so I wanted to do something to mark the day.  Rather than drive myself (and my family) mad I wanted to focus on what we have rather than what we lost.  So, using a fair amount of emotional blackmail, I organised a family photo shoot.  

I'm a keen photographer myself and have taken many, many pics of my own kids but never attempted a family pic or one of myself and my husband - think it would have lead to divorce!!!!!!

So I booked a great local photographer Con Murphy and headed for Emo Court one of our local beauty spots, where we also had our wedding photos done over 12 years ago.

Before the day though I did some preparation.
  
1.  I thought about what I actually wanted the pictures for and of.   This meant I could tell Con what I wanted and we were both on the same page.  Basically I wanted a family picture that I could print quite large on canvas or for framing and one of myself and my husband.  I also wanted some pictures in the bluebells.
2.  I picked a colour scheme so the pictures would look well.  These are all over Pinterest (like this one) and the internet so it was a matter of picking something that suited.  Colin usually wore blue so I started there (at least I could tell the girls what to wear :) )  So we went pinks and blues.  I made the fabric flowers from my previous blog to jazz up the girls' dresses 'et voila' we were ready.  Most photographers if asked will tell you not to wear busy patterns or clothes with big writing all across.  Plain and simple is best but try get the colours to work together and of course to suit you.
Now there are lots of things you can't prepare for and my advice is: 

1.  for example, my 2 year old wasn't willing to co-operate for a while and you just have to relax and let them do their own thing.  Con got something beautiful pictures of her anyway

2.  let the photographer run the show.  If you have already told them what you want then they know what to do.  Con may say I tried to run it but I hope I stood back enough :)  But if they are trying to get your child to do one thing and you are distracting the child it will take longer, everyone will get frustrated and no one will be happy.

3.  bring a hairbrush.

4.  depending on the time of day and year maybe bring some midgy spray.  My poor baby was getting eaten by them :(

5.  do what you are supposed to do.  If the photographer wants you to look at him and the kids are running around or looking the other way let him call them not you.  You keep looking where you are meant to so that in that split second when they do look at the camera he can get the shot and isn't then asking you to look at him.  Basically if you are old enough to do what you are told then do it.

This picture to the right is one of my favourites and there was no posing involved.  The girls were just walking along the lake very natural.  We were chilling on the bench and Con was working his magic.
If anyone has any questions to ask please do.  I hope you have enjoyed this blog, see you soon for the next one which promises to be very tasty xx

Tuesday 5 May 2015

Fabric Flower for Headbands, Brooches, Belts, etc

For these guys please be prepared for some pain ... hot glue on fingertips is inevitable.  But they are quite simple and great for jazzing up a plain outfit.  We are getting family photos taken at the weekend and I wanted to try co-ordinate us all so we're going pinks and blues.  These flowers will be added to my girls outfits just to give them a little extra for the day.  Though the blue one might end up on a hairband for my youngest.

For this one I cut off the hem of an old dress (the longer the material you use the bigger the flower) so it was about 15mm wide but you can go wider which will also effect the end size of the flower.  Then fold about an inch at the end and glue it (I've used hot glue for all these).  Then simply keep rolling up the fabric around it but as you go twist it every now and then (I roughly did 2 twists per round of the flower and then alternated the twists on the next round so they weren't always in the same part).  As you go along keep adding a little glue to keep it in place.  Then just glue the end to the flower and glue it onto more fabric at the back like this.

For the next flower it's so much easier and quicker.  Cut a circle of felt as above for the back.  Then of your flower fabric cut 4 circles for each layer.  In this one I've done 4 plain pink and 4 organza (horrid to glue).  I've used lace and a diamonte to finish off this one or you could use a small rose like the blue one above or cut another round of your fabric and fluff it up in the centre.

Now take your first circle of fabric, put a dot of glue in the centre and fold in half.  But another dot of glue in the centre of the straight edge and fold again so you end up with your circle in a quarter.  Do this with all your circles.  Glue your first layer to your felt backing.  Put some glue in the centre and add the second layer.  I alternated the 'petals' but you don't have to.  The I glued on the lace and diamonte to finish.  Then depending on what you want to do with it will decide whether you add a pin or elastic or ribbon to the backing with glue.

If you find you have strings of glue everywhere you can blow the flower with a hairdryer (warm setting) and they'll disappear.  I found I had a lots of glue on the blue flower so I heated it again with the hairdryer and added some glitter ... I mean what girl doesn't love glitter :)

I hope you enjoy making these as much as I did.  Let me know how you get on, see you soon xx